 SoupWise
How to Make Silky Roasted Butternut Squash Purée Like a Pro
When butternut squash starts piling up at the market, home cooks have a big choice: boil it into bland oblivion, steam it into stringy disappointment, or roast it into something truly special. Roasting isn't just a fancy extra step—it's the real MVP for butternut squash purée. The dry heat pulls moisture out of the flesh, concentrates the natural sugars, and coaxes out a deep caramel sweetness that boiling simply can't touch. The result is a velvety purée with a gorgeous burnt-orange color and enough body to hold its own on a plate, not slide around like a soupy sibling.
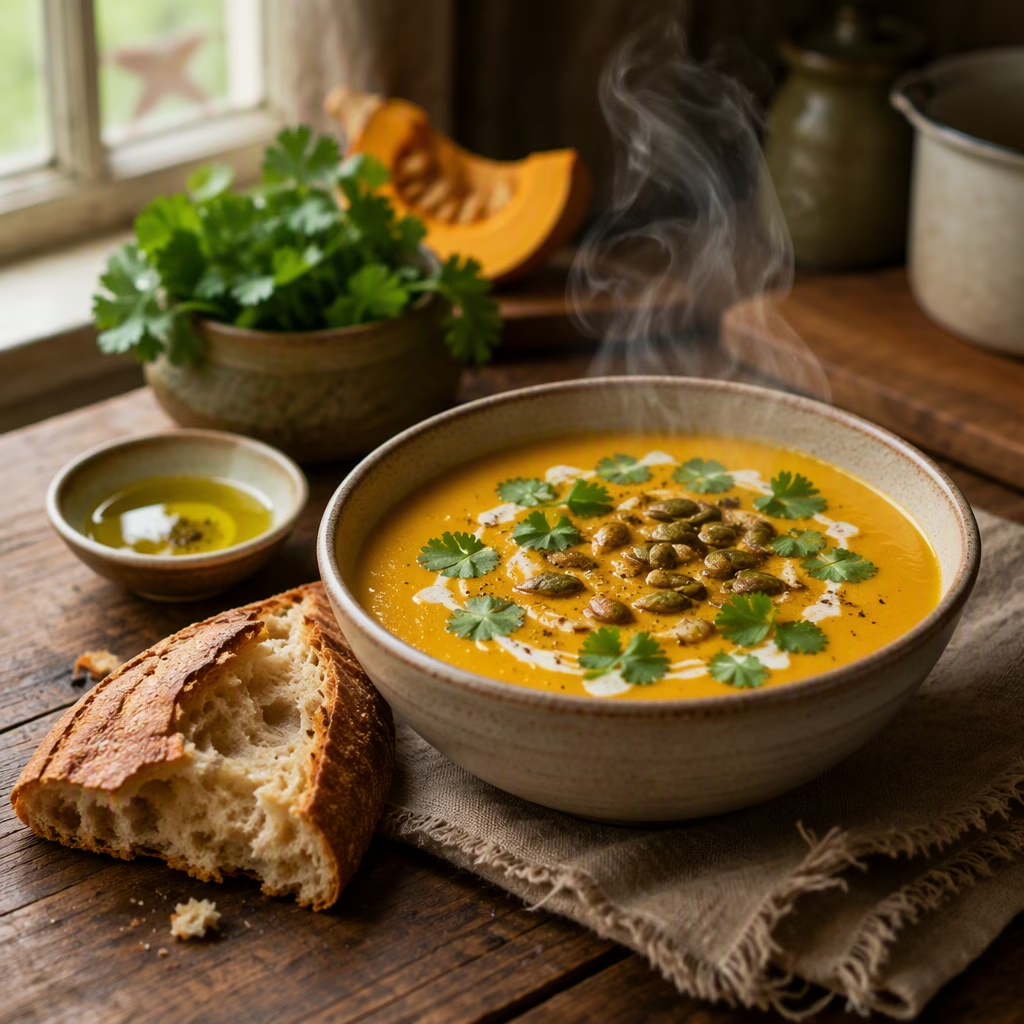
Why Roasting Is a Game Changer
Anyone who has made butternut squash purée knows the struggle. Boiled squash turns into a smooth but watery, flavor-challenged mash. Steamed squash keeps more color but often ends up stringy and pale. Roasting, on the other hand, dehydrates the flesh and deepens the squash's natural sweetness, producing that rich, complex flavor serious cooks look for. It's the same reason roasted butternut squash soup tastes so much better than the boiled version—browning equals flavor.
| Method | Texture | Flavor | Best For |
|---|---|---|---|
| Boiling | Smooth but watery | Bland, diluted | Quick purées that will be heavily seasoned |
| Steaming | Slightly stringy, pale | Mild but flat | Baby food or very light purées |
| Roasting | Velvety, thick | Sweet, caramelized, complex | Pies, soups, side dishes, ravioli |
The high, dry heat also creates more surface browning, which translates into a purée that tastes like fall in the best possible way. Don't sleep on roasting.
Cubes vs. Halves: The Browning Trade-Off
There are two main ways to prep a butternut squash for roasting: cutting it into cubes or simply halving it. Cubes require a bit more knife work, but they bring serious bang for your buck. More exposed surface area means more browning, more dehydration, and a thicker purée that can soak up cream or stock without immediately turning into soup. That's a win if the goal is a rich, spoonable side dish.
Most of the time, though, halving the squash and scooping out the seeds does the trick. The key is to roast the halves cut side up on the baking sheet. If they're roasted cut side down, moisture gets trapped inside, producing a waterlogged purée with little room for adding liquid later. Cut side up allows steam to escape, concentrating the flesh just enough while still leaving the purée flexible for finishing touches.
A quick tip: the squash skin can stay on while roasting. Once the flesh is tender, it scoops away easily with a spoon. No need to fight a slippery raw squash with a peeler.
Oven Temperature and Roasting Position
For the best results, crank the oven to around 400 to 425°F. This range promotes steady browning and dehydration without singeing the outside. Going much higher can create a dark, crispy crust that leans bitter and can mess with both flavor and texture. Nobody wants a purée that tastes like burnt edges.
Lining the baking sheet with parchment or lightly oiling it helps prevent sticking. A little neutral oil brushed over the cut sides of the squash also encourages caramelization. Once the squash is fork-tender and deeply golden, it's ready for the next step.
Finishing with Cream, Butter, and Other Flavor Boosters
A basic roasted squash purée can be as simple as squash, salt, and a touch of oil. But for a side dish that holds its own next to grilled or braised meats, a few small additions go a long way. Heavy cream and butter are the classic power couple here—they add richness and sweet dairy notes that play beautifully with the squash's natural caramel flavor. A splash of cream and a knob of butter make the purée silky, not soupy.
For more depth, a cook can steep woodsy herbs like sage, rosemary, or thyme in warm cream or stock, then strain them out. Browned butter brings a nutty, toasty edge that's hard to beat. Stock adds savory layers, especially when finished with a little olive oil or butter. The beauty of this purée is that it's endlessly customizable—spices like nutmeg, cinnamon, cayenne, or smoked paprika can all find a place depending on the meal.
Blending Without Losing Your Mind
Thick purées can be stubborn in a blender. They sometimes refuse to form a proper vortex, leaving chunks stuck at the top while the blades spin uselessly below. If using a high-powered blender with a tamper, a cook can safely push the squash toward the blades without risking a spatula-meets-blade disaster. Otherwise, add the liquid first, then a portion of the squash, blend, and repeat with more squash as needed. Scraping down the sides between pulses helps too.
A food processor, stand mixer, or immersion blender all work well. For a more rustic, chunky texture, a potato masher and a sturdy whisk get the job done with zero fancy equipment. The goal is a thick, velvety purée that holds its shape on the plate.
Quick Recipe Snapshot
-
Prep: 10 minutes
-
Cook: 1 hour 5 minutes
-
Cool: 15 minutes
-
Yield: about 3 cups
Ingredients
-
1 large butternut squash, about 2 3/4 pounds
-
Neutral oil, for coating
-
2 1/4 teaspoons Diamond Crystal kosher salt, divided
-
1/4 cup heavy cream
-
1 tablespoon unsalted butter
Method
-
Preheat the oven to 425°F with the rack in the middle.
-
Halve the squash lengthwise and scoop out the seeds.
-
Brush the cut sides with oil and season with half the salt.
-
Roast cut side up until deeply browned and fork-tender, about 1 hour.
-
Cool slightly, then scoop the flesh into a food processor or blender.
-
Purée with the cream, butter, and remaining salt until smooth.
Storage and Serving
The purée can be refrigerated in an airtight container for up to five days. Reheat it gently on the stovetop or in the microwave before serving. It's brilliant alongside roast chicken, braised short ribs, or seared pork chops. It also makes a killer base for butternut squash pie, ravioli filling, or even a creamy autumn soup. Once a cook tastes the roasted version, there's no going back to the pale, watery stuff.